
-
Avalon-Chanel – Unretouched (1/200s at f/8 on 85mm) – Studio Hans van Eijsden Photogra, Zwolle, The Netherlands
-
Avalon-Chanel – Unretouched (1/200s at f/8 on 85mm) – Studio Hans van Eijsden Photogra, Zwolle, The Netherlands
-
Avalon-Chanel – Unretouched (1/200s at f/7.1 on 85mm) – Studio Hans van Eijsden Photogra, Zwolle, The Netherlands
-
Avalon-Chanel – Unretouched (1/200s at f/8 on 85mm) – Studio Hans van Eijsden Photogra, Zwolle, The Netherlands
-
Avalon-Chanel – Unretouched (1/200s at f/9 on 85mm) – Studio Hans van Eijsden Photogra, Zwolle, The Netherlands
-
Avalon-Chanel – Unretouched (1/200s at f/8 on 85mm) – Studio Hans van Eijsden Photogra, Zwolle, The Netherlands
-
Avalon-Chanel – Unretouched (1/200s at f/9 on 85mm) – Studio Hans van Eijsden Photogra, Zwolle, The Netherlands
-
Avalon-Chanel – Unretouched (1/200s at f/8 on 85mm) – Studio Hans van Eijsden Photogra, Zwolle, The Netherlands
-
Avalon-Chanel – Unretouched (1/200s at f/8 on 85mm) – Studio Hans van Eijsden Photogra, Zwolle, The Netherlands
-
Avalon-Chanel – Unretouched (1/200s at f/6.3 on 85mm) – Studio Hans van Eijsden Photogra, Zwolle, The Netherlands
-
Avalon-Chanel – Unretouched (1/200s at f/8 on 85mm) – Studio Hans van Eijsden Photogra, Zwolle, The Netherlands
-

Avalon-Chanel – Unretouched (1/200s at f/6.3 on 85mm) – Studio Hans van Eijsden Photogra, Zwolle, The Netherlands
-
Avalon-Chanel – Unretouched (1/200s at f/8 on 85mm) – Studio Hans van Eijsden Photogra, Zwolle, The Netherlands
-

Avalon-Chanel – Unretouched (1/200s at f/8 on 85mm) – Studio Hans van Eijsden Photogra, Zwolle, The Netherlands
-
Avalon-Chanel – Unretouched (1/200s at f/6.3 on 85mm) – Studio Hans van Eijsden Photogra, Zwolle, The Netherlands
-
Avalon-Chanel – Unretouched (1/200s at f/7.1 on 85mm) – Studio Hans van Eijsden Photogra, Zwolle, The Netherlands
-
Avalon-Chanel – Unretouched (1/200s at f/8 on 85mm) – Studio Hans van Eijsden Photogra, Zwolle, The Netherlands
-
Avalon-Chanel – Unretouched (1/200s at f/8 on 85mm) – Studio Hans van Eijsden Photogra, Zwolle, The Netherlands
-
Avalon-Chanel – Unretouched (1/200s at f/8 on 85mm) – Studio Hans van Eijsden Photogra, Zwolle, The Netherlands
-
Avalon-Chanel – Unretouched (1/200s at f/6.3 on 85mm) – Studio Hans van Eijsden Photogra, Zwolle, The Netherlands
-
Avalon-Chanel – Unretouched (1/200s at f/8 on 85mm) – Studio Hans van Eijsden Photogra, Zwolle, The Netherlands
-

Avalon-Chanel – Unretouched (1/200s at f/6.3 on 85mm) – Studio Hans van Eijsden Photogra, Zwolle, The Netherlands
-
Avalon-Chanel – Unretouched (1/200s at f/8 on 85mm) – Studio Hans van Eijsden Photogra, Zwolle, The Netherlands
-
Avalon-Chanel – Unretouched (1/200s at f/6.3 on 85mm) – Studio Hans van Eijsden Photogra, Zwolle, The Netherlands
-
Avalon-Chanel – Unretouched (1/200s at f/6.3 on 85mm) – Studio Hans van Eijsden Photogra, Zwolle, The Netherlands
-
Avalon-Chanel – Unretouched (1/200s at f/6.3 on 85mm) – Studio Hans van Eijsden Photogra, Zwolle, The Netherlands
-
Avalon-Chanel – Unretouched (1/200s at f/8 on 85mm) – Studio Hans van Eijsden Photogra, Zwolle, The Netherlands
-
Avalon-Chanel – Unretouched (1/200s at f/6.3 on 85mm) – Studio Hans van Eijsden Photogra, Zwolle, The Netherlands


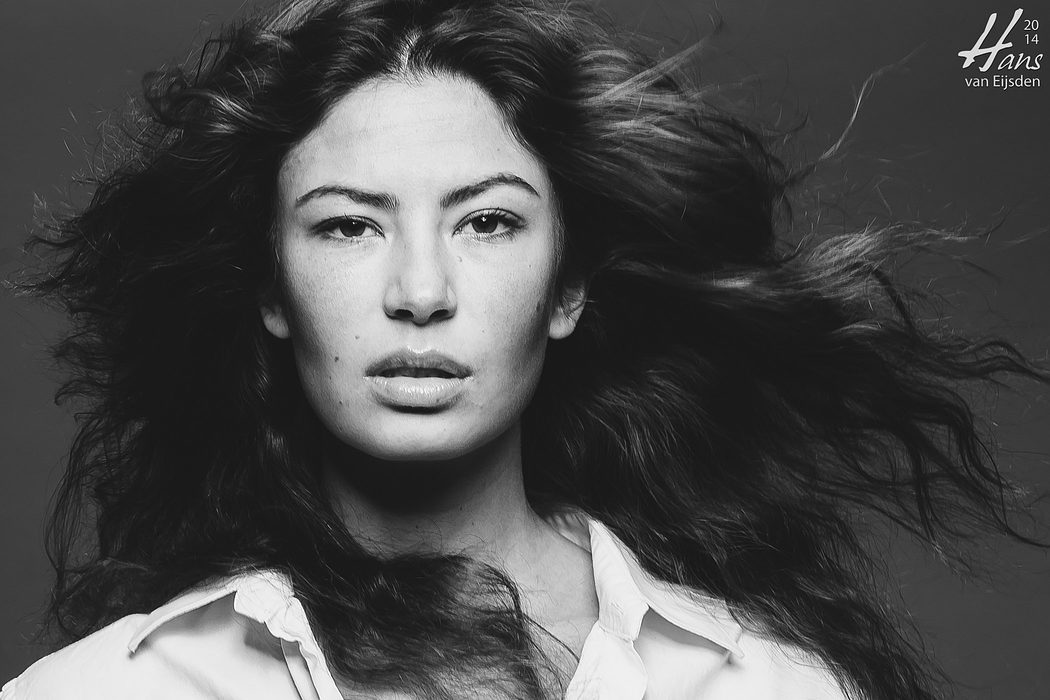
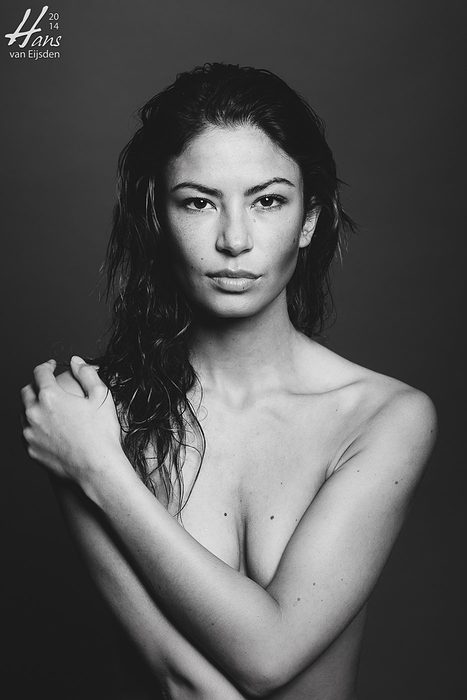
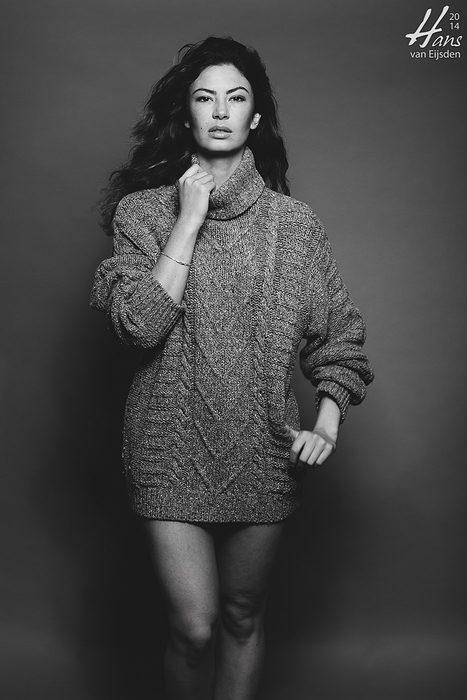
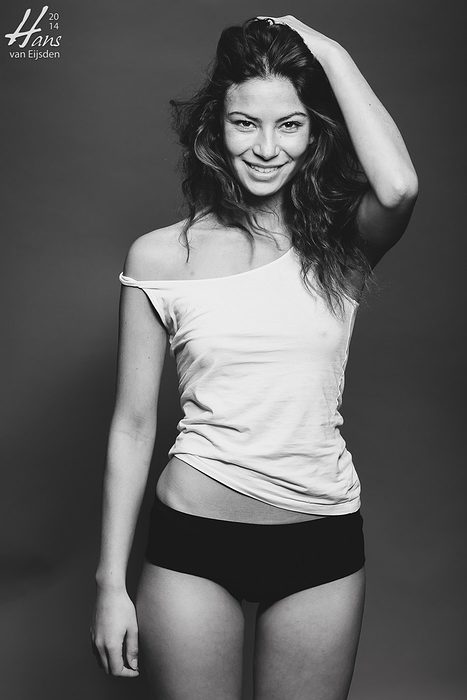
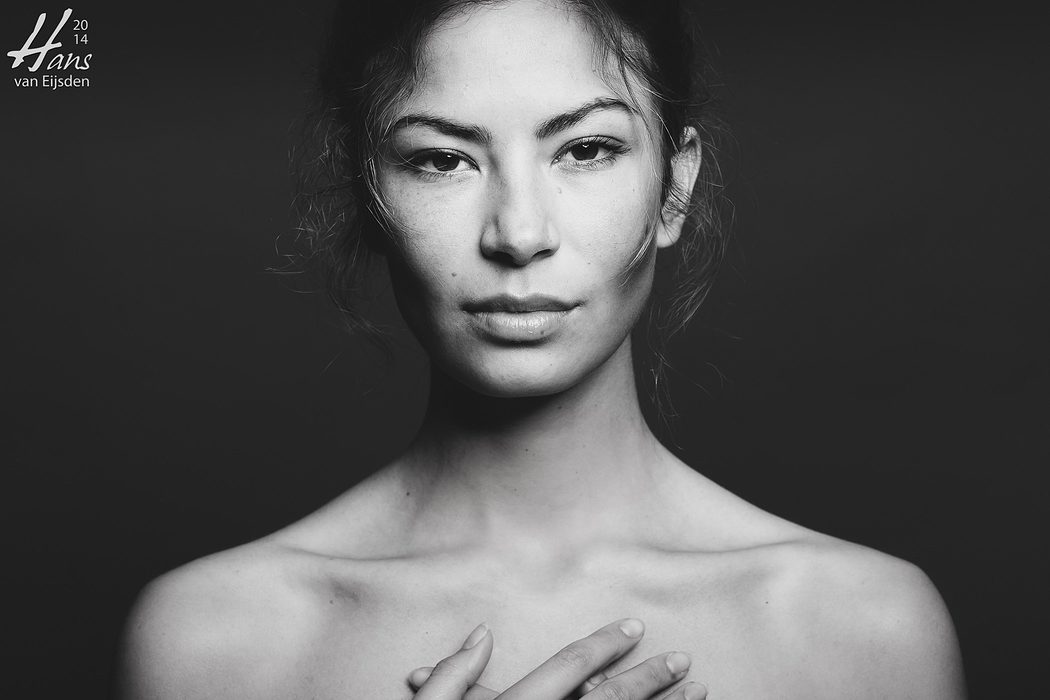
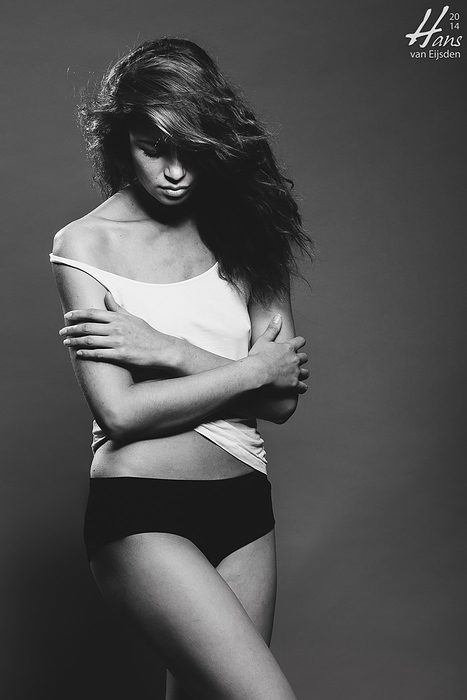
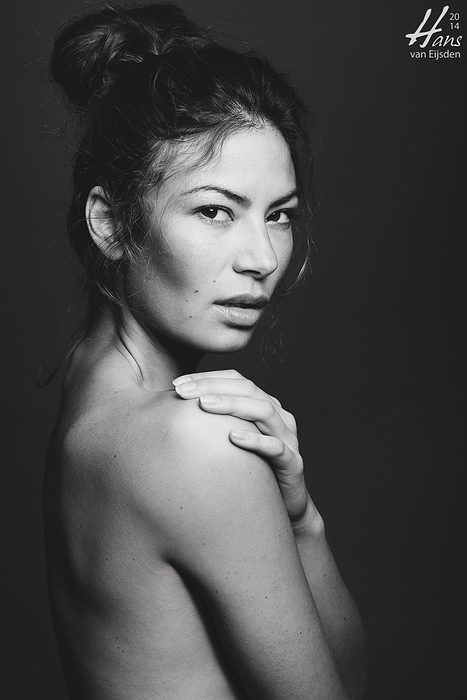
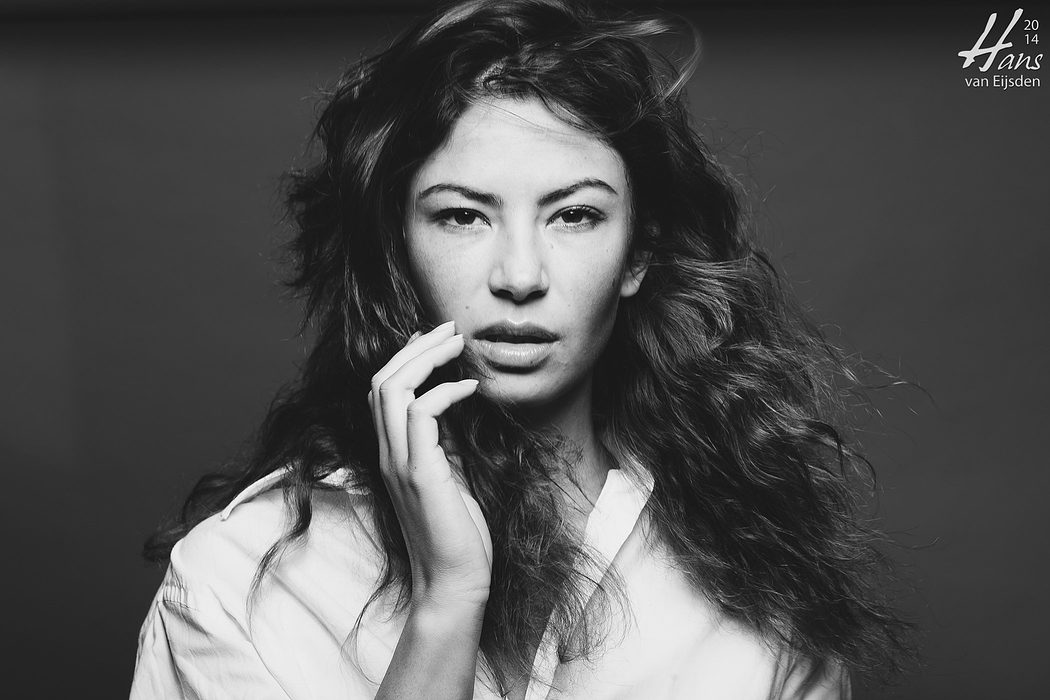
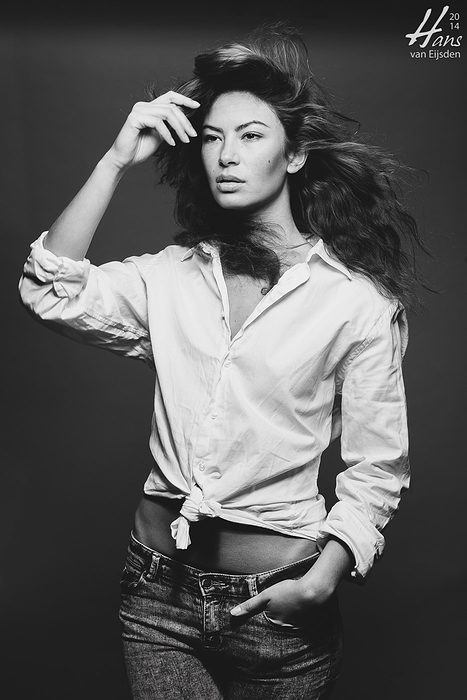
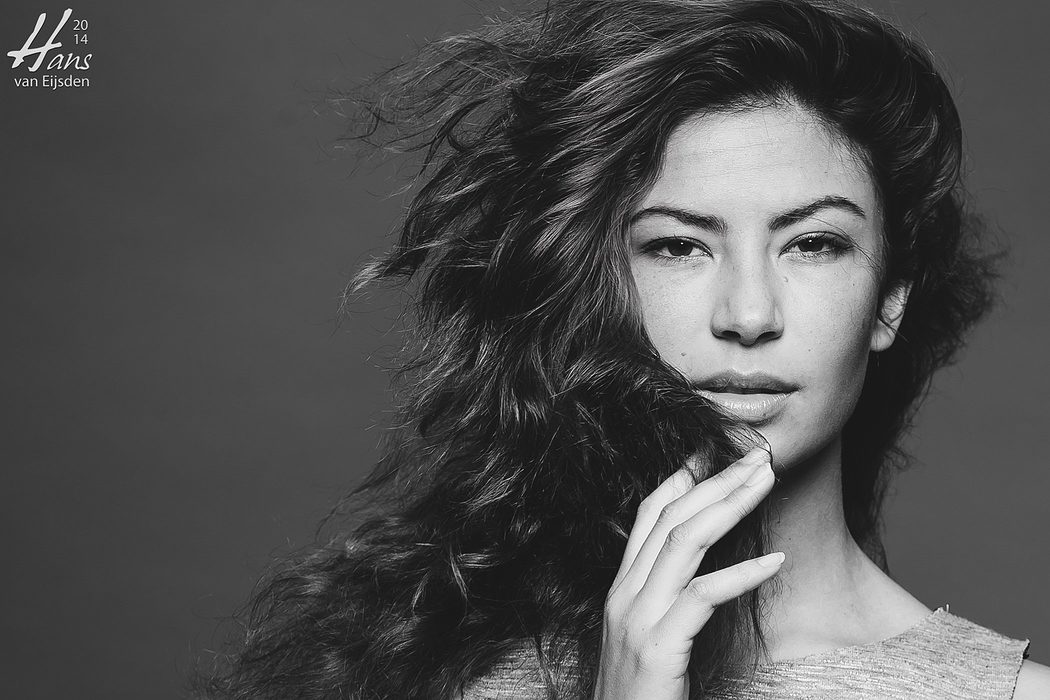
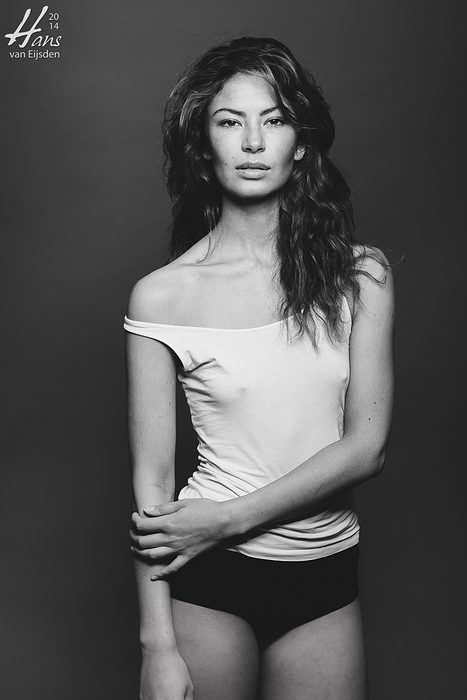
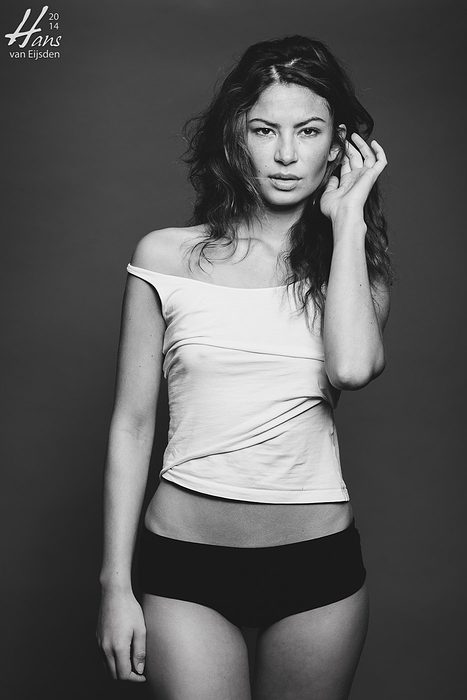
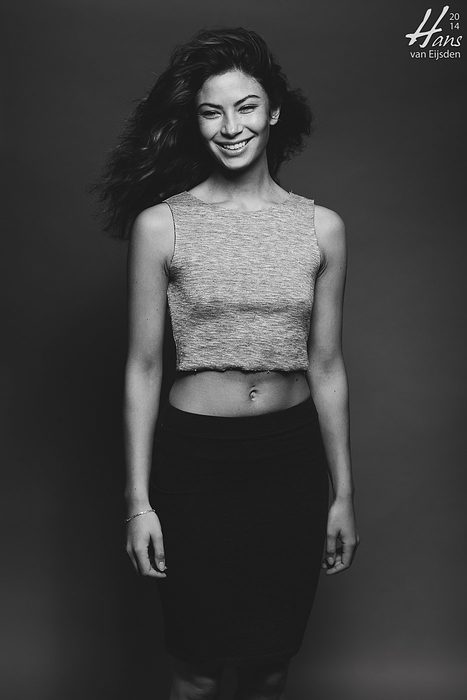
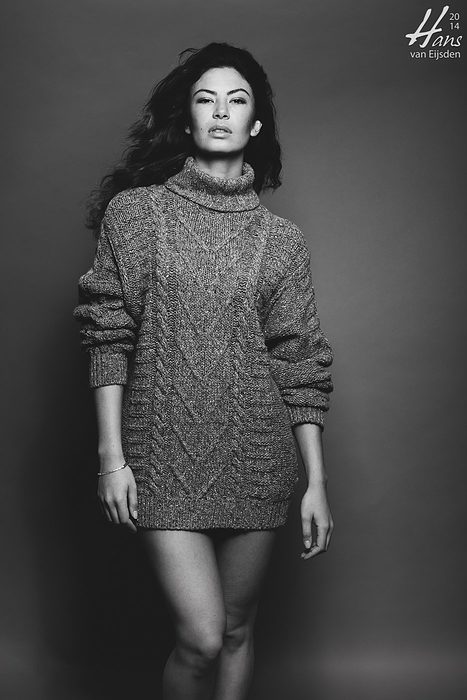
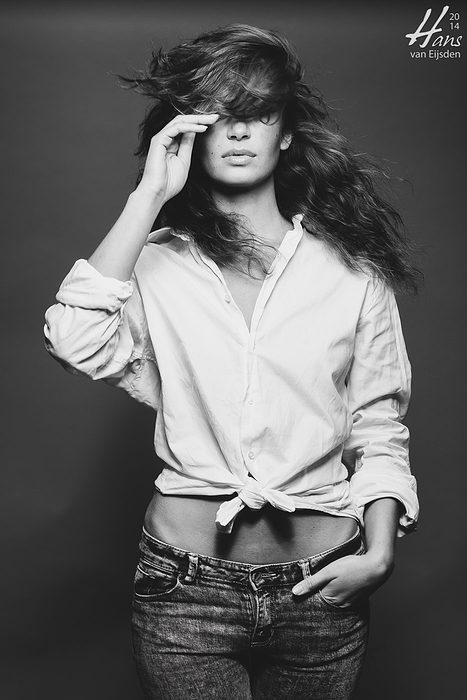
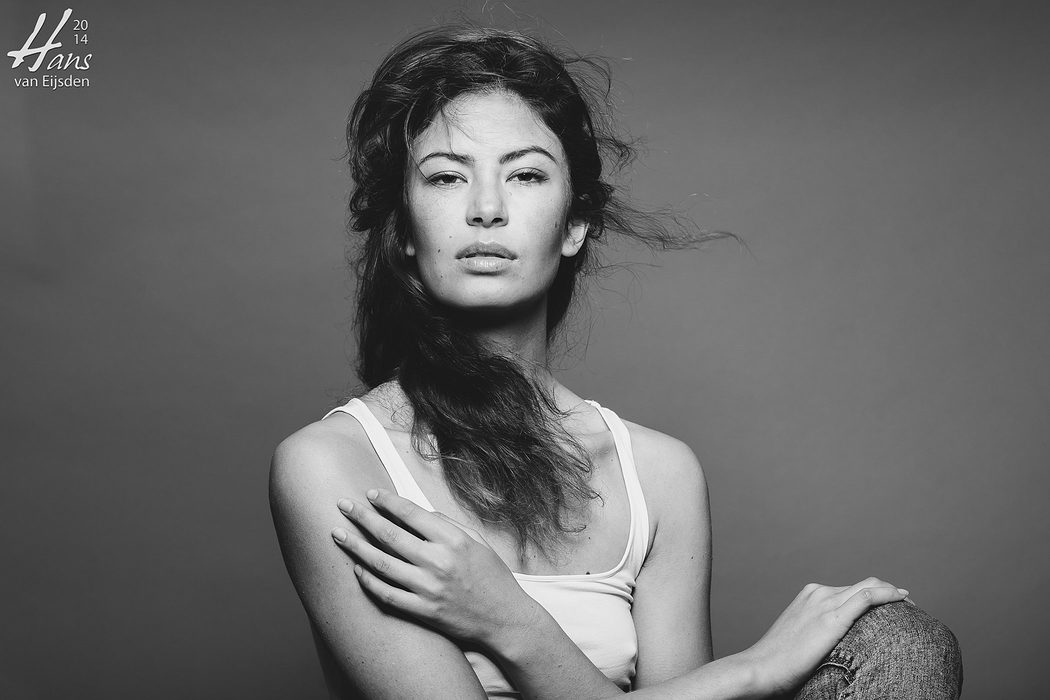
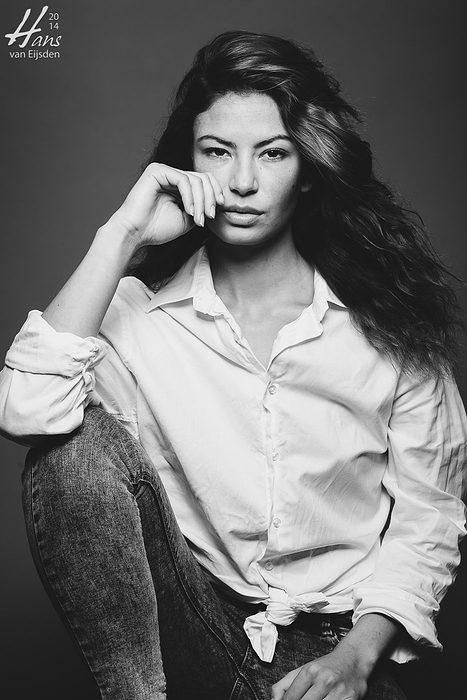
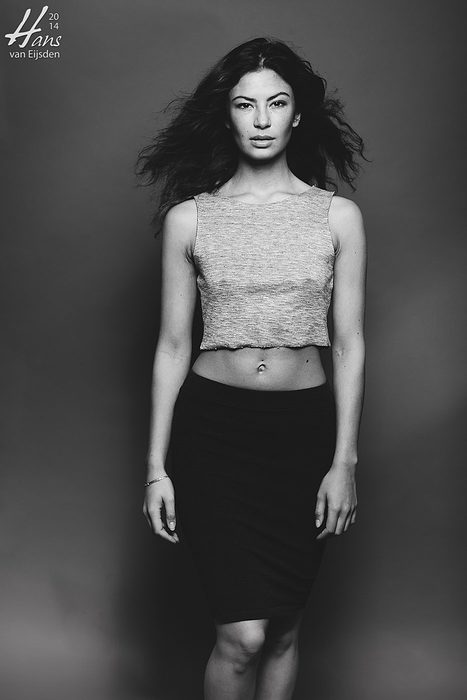
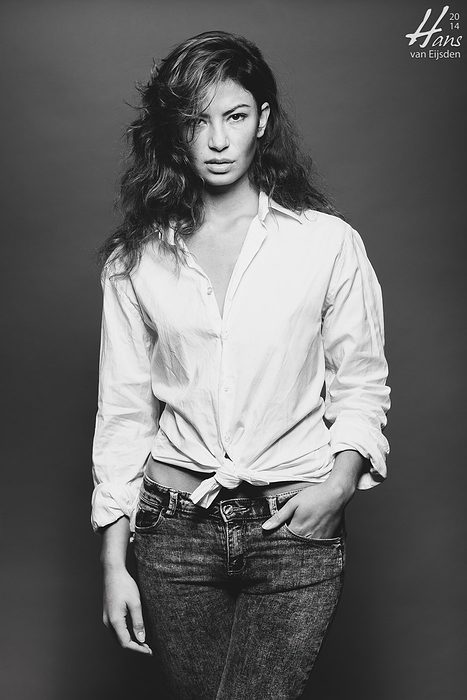
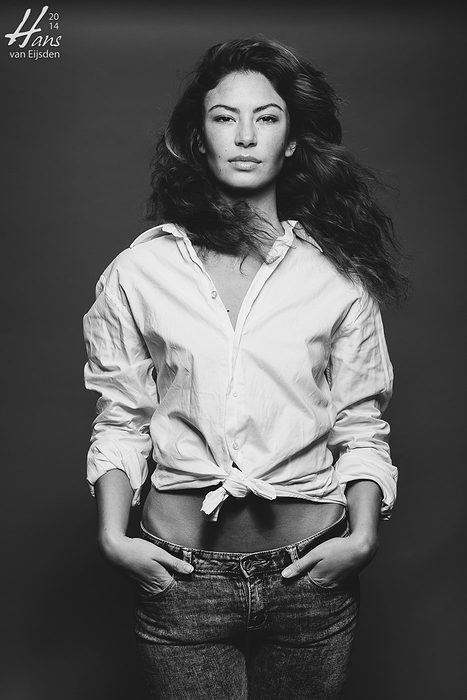
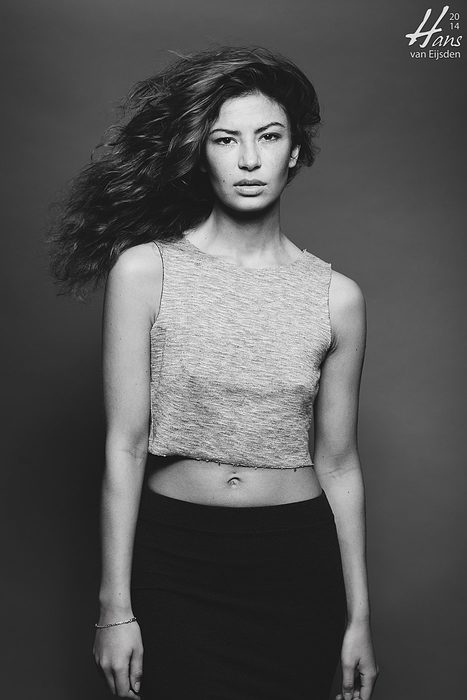
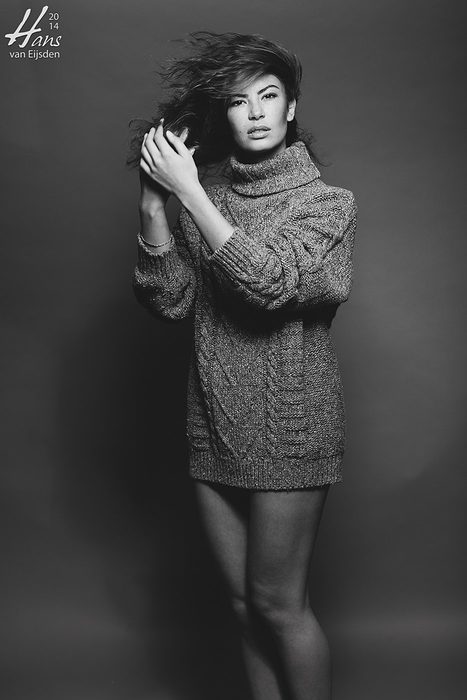
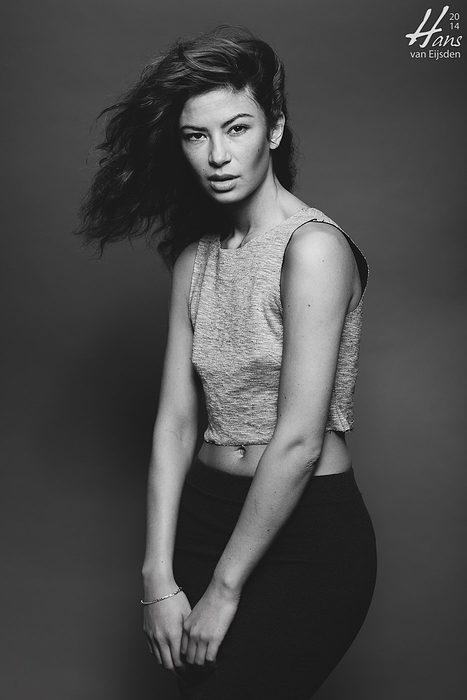
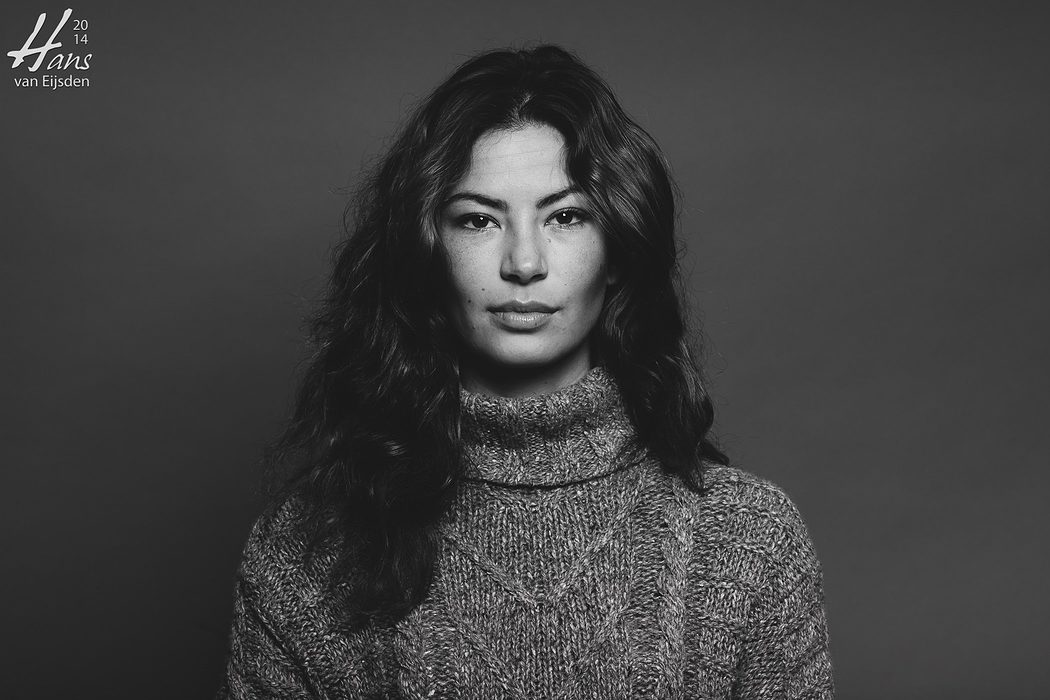
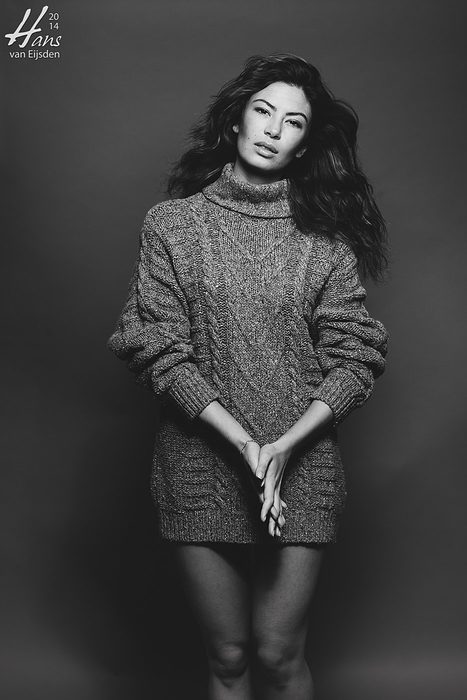
Avalon-Chanel: One Light & No Retouching
| 32 imagesThis post is also available in:
 Dutch
Dutch
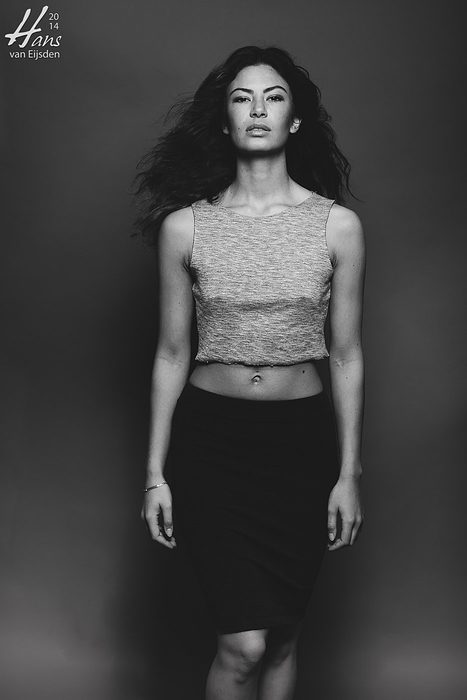
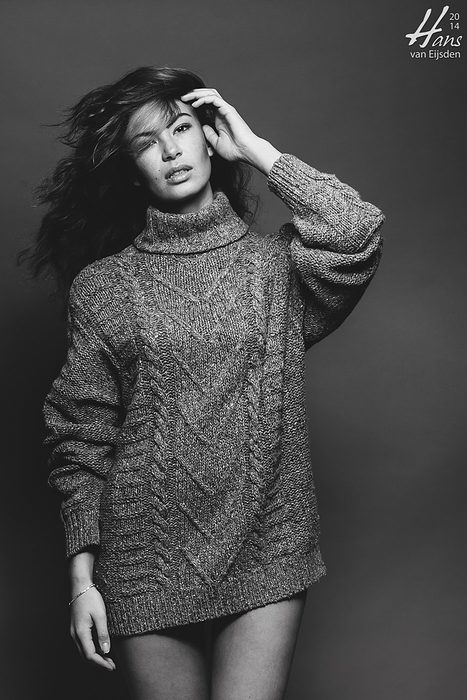
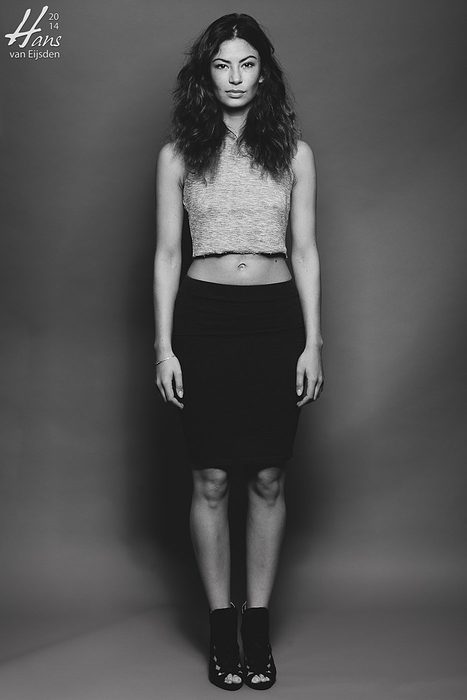
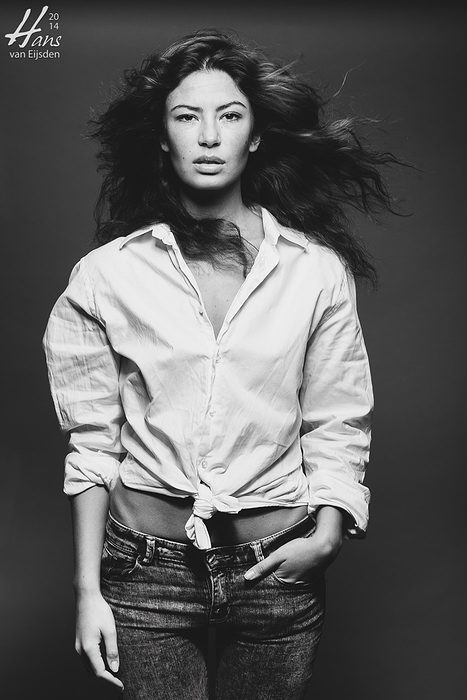
To capture the beautiful Avalon-Chanel Weijzig in all her beauty and as pure as possible. For me it was a long-term goal, something to “just do”, but with one important “if”: to use only one light, without any modifiers which soften the light. To work with hard shadows. And, no retouching, except a basic greyscale conversion. And so, it happened.
Avalon-Chanel has always been one of my favorite models. It’s so easy to work with her, and she is relaxed, loving and caring. This makes working a breeze and she makes time fly.
In the studio I grabbed one simple medium grey background. I decided to not light it, so the images would become a little bit more “Low Key”: darker toned. And I wanted to work with high contrasts with sharp edges, transitions. That’s why I took one light, a simple large beauty dish. I removed the grid, to make the beam wider so I could lit Avalon-Chanel with the whole beauty dish. I also didn’t use any diffusion, so her face became more raw, rough.
Normally, the perfect distance between a beauty dish and the model is 1,5x the diameter of the beauty dish. Within that distance, the resulting image becomes softer, more 3D. This time I didn’t want to make the images “beautiful” as in “beauty”: the opposite.
And it was difficult! Not because of the work, but because of my thinking. I had to switch my mind to the “lazy mode”. The mode of many years ago, when I first started photography. The lazy mode, of which I just placed a simple, ugly light. The lazy mode, of rushing and not doing my best. It felt strange, because I’m just a perfectionist. And this time, the images weren’t about perfectionism.
We wanted to bring out the personality, identity, simplicity, individuality on a powerful, pure way. The one-light-solution helps of course, but also the default greyscale conversion. While converting the images to greyscale (black and white, as you wish), I used a yellow filter before conversion. Using a yellow filter before conversion brings out the details in the face, the freckles, even more.
These images are directly from Lightroom. No extra editing in Photoshop, only the default greyscale conversion. It’s something different, I know, and it takes me back many years in time, but this is where we both were looking for. I hope you like it. 🙂
Leave a Reply